

Table of Contents
Are you tired of opening your oven door only to be met with layers of grease and grime that have seemingly taken up permanent residence?
Fear not, for the solution to your oven-cleaning woes may already lurk in your pantry’s depths.
DIY cleaner hacks offer a budget-friendly and eco-conscious alternative in a world where cleaning products come with hefty price tags and harsh chemicals.
This article helps you clean your oven without spending lots of money. It shows simple cleaning mixtures using stuff you already have at home.
It also shares clever tricks for getting rid of tough stains without much effort. So, if you want your oven to shine like new again, this guide has all the tips you need.
3 Steps to Clean Your Oven with Natural Cleaner
Prepare Well
- Remove oven racks and any other removable parts to easily access all areas of the oven.
- Place old newspapers or a drop cloth underneath the oven to catch any spills or drips.
- Open windows for ventilation and turn on the exhaust fan before cleaning.
Use the Right Tools
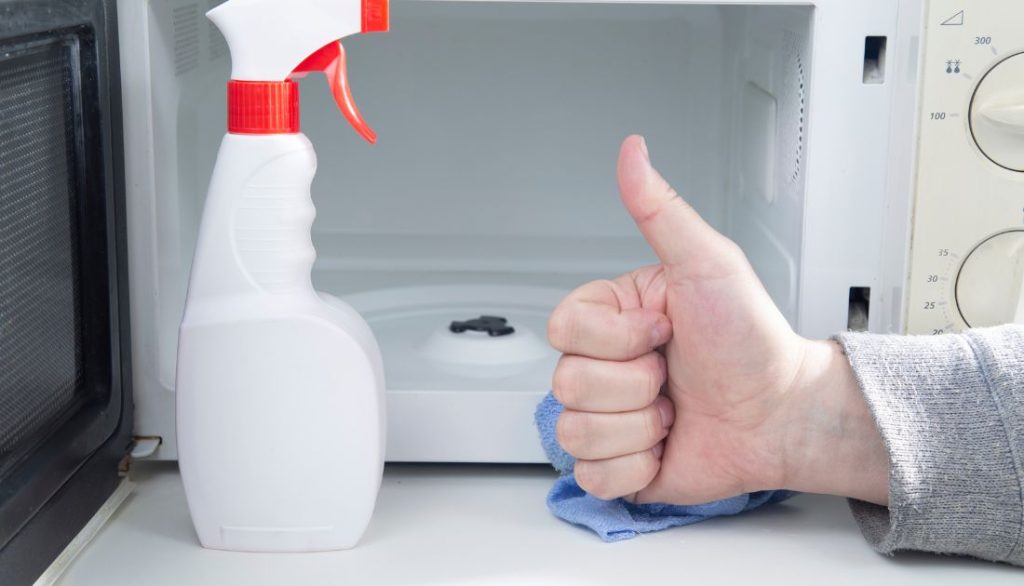
- Gather a scrubbing sponge, rubber gloves, a plastic scraper, baking soda, vinegar, water in a spray bottle, and a microfiber cloth.
- Avoid metal scouring pads or harsh chemicals that can damage your oven’s finish.
- Have a bucket of hot, soapy, alkaline water ready to rinse off residue after cleaning.
Choose the Right Cleaner
- Create a natural cleaner using solution baking soda, vinegar, and water to cut through grease and grime effectively.
- Apply the paste liberally inside the oven and let it sit for at least 30 minutes before the process of scrubbing with a sponge.
- Wipe down all surfaces with a damp cloth soaked in diluted vinegar to remove any remaining residue for a sparkling clean finish.
Oven Cleaner DIY Methods
For a DIY oven cleaner, start with baking soda and vinegar. Mix a paste and spread it inside your oven. Let it rest for a few hours or overnight to break down grime. Then, scrub away the residue with an absorbing sponge or cloth.
In a pinch, salt can be your ally. Sprinkle it over spills while the oven is still warm. As it cools, the salt will absorb moisture and loosen the mess. Afterward, wipe it clean with a damp cloth.
Harness the power of steam to tackle stubborn spots. Place a water bowl inside the oven and heat it for 20 minutes. The steam will soften the grime, making it easier to wipe away.
When life gives you lemons, use them to clean your oven! Cut a lemon in half and dip it in salt. Scrub the oven interior with the lemon halves to cut through grease and leave a fresh scent behind.
Remember the nooks and crannies. An old toothbrush is perfect for reaching tight spots. Dip it in your cleaning solution and scrub away any remaining grime.
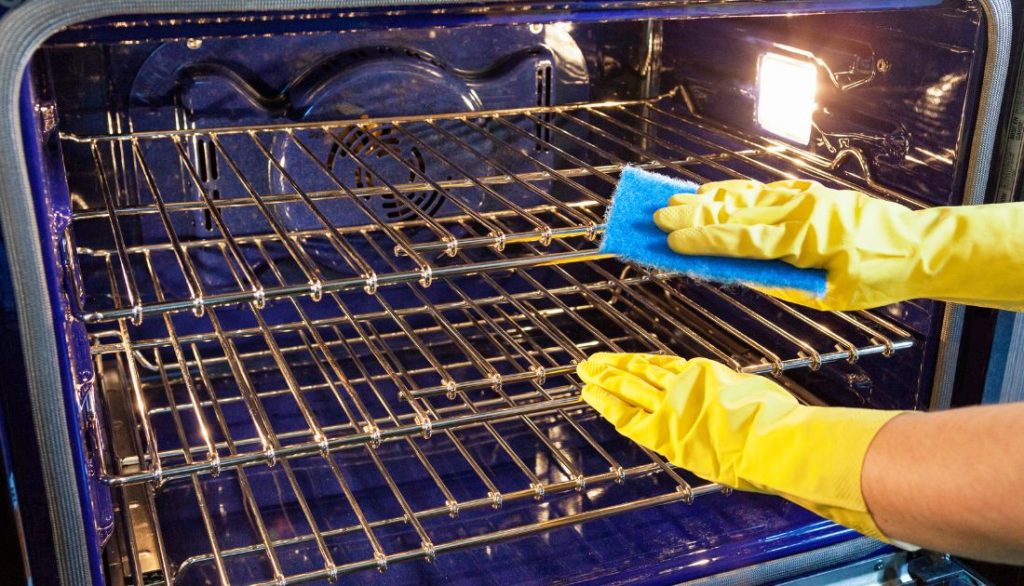
Oven racks need love, too. Clean them in the bathtub using a solution of hot water and dish soap. Let them soak for a few hours, then scrub with a brush to remove any remaining residue.
Before you start cleaning, give your oven a once-over with a vacuum cleaner. This will remove any loose crumbs or debris, making the cleaning process more effective.
For a sparkling oven door, try using a dishwasher tablet. Wet the tablet and rub it over the glass, then wipe away with a damp cloth. This will help to dissolve built-up grease and grime.
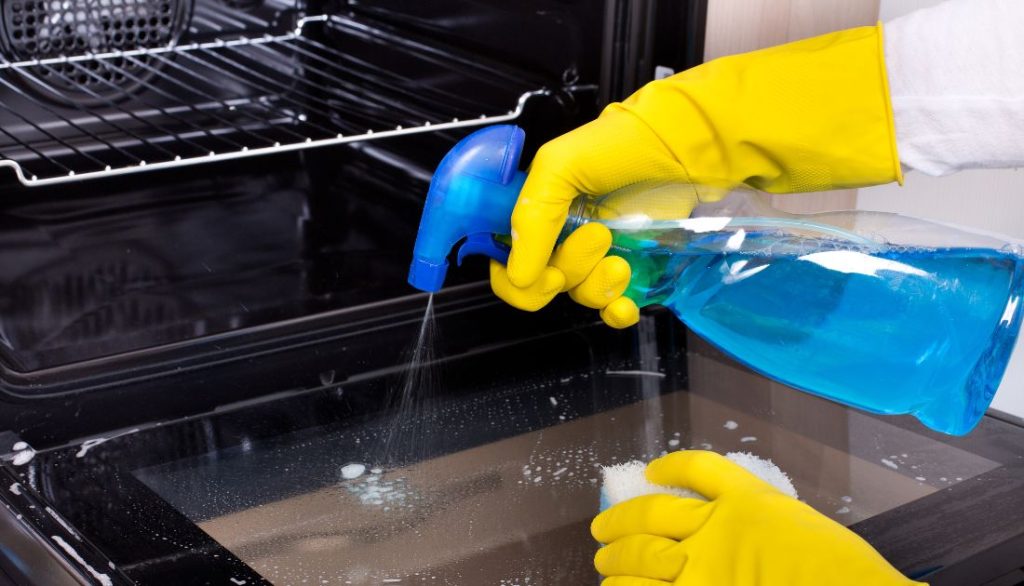
Combine dish soap and vinegar in a spray bottle for a simple yet effective oven cleaner. Spray the mixture inside the oven and let it rest for 5 to 6 min before you decide to wipe it away with an abosrbing sponge or cloth.
Combine baking soda and dish soap to make a powerful cleaning paste. Spread the paste over the oven interior and let it sit for at least 30 minutes before the procedure of scrubbing away stubborn stains.
If your oven has a self-cleaning function, make use of it! Follow the manufacturer’s instructions for a hands-free cleaning experience.
Remove oven knobs and soak them in luke, soapy water to remove grease and grime. Use a brush to scrub away any remaining residue before reinstalling them.
Before you begin cleaning, use a brush to sweep out any loose debris from the oven interior. This will make the cleaning process easier and more effective.
Use a magic eraser to remove built-up grime and grease for a pristine oven door. Simply wet the eraser and scrub away stubborn stains for a sparkling finish.
For incredibly stubborn dirt and grime, enlist the help of a power drill with a brush attachment. This will make quick work of even the toughest messes, leaving your oven looking like new.
STEP BY STEP Process
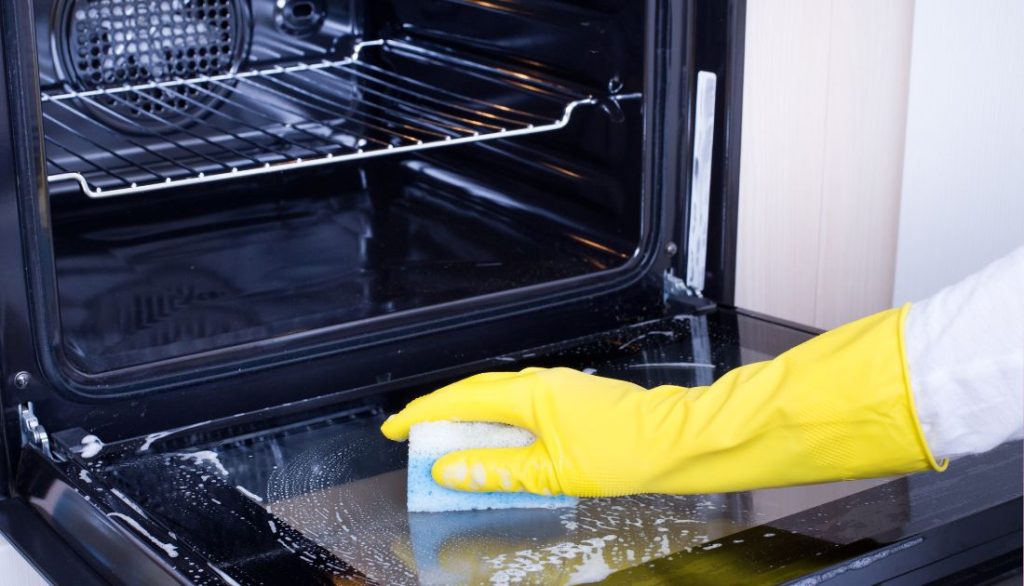
- Prepare the Surface: Remove racks or trays from your oven. Before proceeding, wipe away loose debris and crumbs with a damp cloth.
- Allow it to Soak: Apply your chosen DIY cleaner to the interior surfaces of the oven, focusing on tough spots and baked-on grease. Let it sit for at least 15-20 minutes to allow the cleaner to penetrate and loosen dirt.
- Gather Your Tools: While waiting for the cleaner to work magic, gather tools like scrubbing sponges, microfiber cloths, and a bucket of warm water for rinsing.
- Set the Mood with Music: Put on some upbeat music or your favorite podcast to keep you motivated as you tackle this task. A little background noise can make cleaning more enjoyable.
- Begin the Scrubbing Process: Using firm pressure, scrub away grime and grease from all surfaces inside the oven. Repeat until satisfied with cleanliness.
- Wipe Down as Necessary: After scrubbing, use a damp cloth or sponge to wipe down all surfaces to remove any remaining residue or cleaner.
- Take a Break: Take short breaks during cleaning sessions, grab a drink of water or stretch before continuing.
- Finish with Final Wipe-down: Once you’re happy with how clean your oven looks, give everything one final wipe-down for a sparkling finish that will leave you feeling accomplished.
FAQs
What are the benefits of creating your oven cleaner?
Making your oven cleaner offers numerous advantages.
- Firstly, DIY cleaners typically use natural ingredients, reducing exposure to harsh chemicals in commercial cleaners. This is particularly beneficial for individuals with sensitivities or allergies.
- Secondly, homemade cleaners are often more cost-effective, utilizing common household items such as vinegar, baking soda, and lemon.
- Additionally, DIY cleaners are customizable, allowing you to adjust the formula to suit your cleaning needs and preferences.
- Moreover, creating your oven cleaner promotes sustainability by reducing reliance on single-use plastic packaging commonly associated with store-bought cleaners.
What is the recommended frequency for oven cleaning?
The frequency of oven cleaning depends on usage and buildup. A thorough cleaning every three to six months is typically sufficient for regular home cooks to maintain optimal oven performance and hygiene. However, more frequent cleaning may be necessary for heavy or frequent use to prevent stubborn buildup.
Additionally, performing routine spot cleaning after each use can help prevent grease and grime from accumulating and becoming more challenging to remove over time. Adhering to a consistent cleaning schedule ensures that your oven remains in top condition and extends its lifespan.
What are effective methods for tackling heavy dirt buildup in an oven?
When you face strict dirt buildup in your oven, several effective methods can help restore its cleanliness. One approach is to create a paste using solution of baking soda and water, which can be spread evenly over the interior surfaces and left to sit overnight. The alkaline nature of baking soda helps break down grease and grime, making them easier to wipe away the next day.
Alternatively, steam cleaning using water and vinegar can loosen tough stains and residues, allowing for easier removal. A commercial oven cleaner specifically formulated for heavy-duty cleaning may be necessary for particularly stubborn areas.
What is the best approach for cleaning oven racks?
Cleaning oven racks can be hard, but there are ways to make it easier. One good way is to take the racks out of the oven and put them in a big sink or bathtub with hot, soapy water. Leave them there for a few hours or overnight to help get rid of the tough dirt.
After soaking, use a scrub brush or sponge to clean off any leftover dirt. Then rinse them well and let them dry before putting them back in the oven.
If there are still stubborn stains, you can make a paste with baking soda and water and put it on the racks to help get rid of the dirt more easily.
What makes vinegar an effective cleaning agent?
Vinegar is renowned for its effective cleaning agent due to its acidic properties and versatile applications. As a natural solvent, vinegar effectively dissolves grease, mineral deposits, and stains, making it an ideal choice for cleaning various surfaces, including ovens.
Vinegar’s antibacterial properties help sanitize surfaces, reducing the risk of harmful bacteria growth. When combined with other ingredients such as baking soda or dish soap, vinegar enhances cleaning power and can tackle even tough oven stains.
Furthermore, vinegar is environmentally friendly and readily available, making it a popular choice for eco-conscious consumers.
How can you clean an oven effectively without using baking soda?
While baking soda is a commonly used ingredient in DIY oven cleaners, there are alternative methods for effectively cleaning an oven without it. One approach is to use a solution of vinegar and water in a spray bottle, which can be applied generously to the interior surfaces of the oven.
Allow the solution for several minutes to loosen the debris layer, then wipe it away with a damp cloth or sponge. For stubborn stains, steam cleaning using vinegar-infused water can help soften buildup for easier removal. Additionally, commercially available eco-friendly oven cleaners offer effective alternatives to traditional baking soda-based formulas.