

Table of Contents
How to replace shower valve?
When updating your bathroom, the shower valve is one of the most crucial components to replace. A malfunctioning or outdated shower valve can lead to water flow and temperature control issues, making for an uncomfortable bathing experience. Fortunately, replacing a shower valve is a task that can be accomplished by any homeowner with the right tools and guidance.
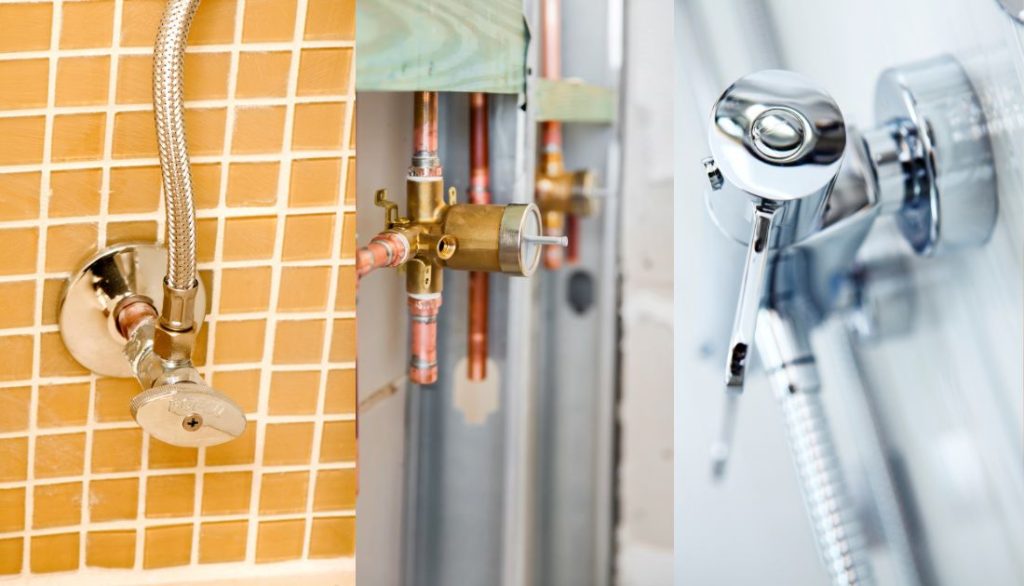
Types of Shower Valves
Compression Valve: Common in older homes, these valves use a stem that moves up and down to regulate water flow. They are prone to leaks and may require more maintenance.
Ball Valve: Found in newer homes, these valves utilize a ball with openings for mixing hot and cold water. They are durable and less likely to leak compared to compression valves.
Cartridge Valve: These valves have a cartridge that moves back and forth to control the water temperature. They are easy to operate and are commonly used in modern showers.
Understanding the type of shower valve you have is crucial before attempting any replacement work. It will ensure you purchase the correct replacement parts and follow the appropriate steps for a successful valve installation.
Common Issues with Shower Valves
Leaks: One common issue with shower valves is leaks, leading to water wastage and potential damage to your bathroom. Leaks may occur due to worn-out seals or damaged components within the valve.
Inconsistent Temperature: If you’re experiencing fluctuations in water temperature while taking a shower, it could be a sign that your shower valve needs replacement. This problem might indicate issues with mixing hot and cold water within the valve system.
Difficulty Adjusting Water Flow: Another common issue is difficulty adjusting the water flow when using your shower. This can make it challenging to find a comfortable water pressure for your showers, resulting in an unpleasant experience overall.
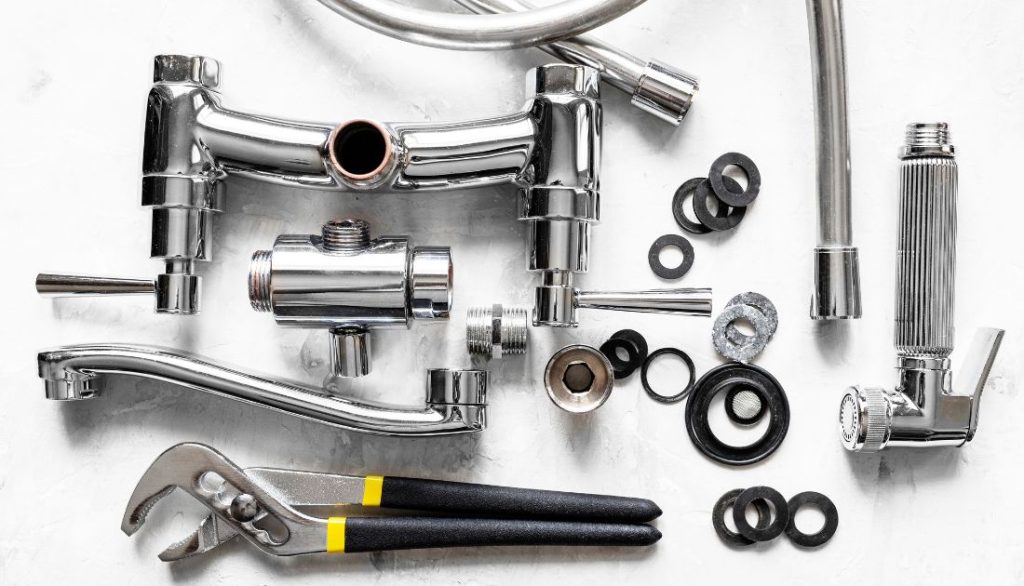
Tools and Materials Needed
Adjustable wrench: Essential for loosening and tightening various nuts and bolts.
Phillips screwdriver: Used to remove screws holding the valve in place.
Pipe cutter: For cutting through pipes with precision.
Plumber’s tape: Helps create a watertight seal when connecting new fittings.
Replacement shower valve: Make sure to purchase one that is compatible with your existing plumbing system.
Shutting Off the Water Supply
Locate the main water shut-off valve: Before beginning any work on your shower valve, finding and turning off the main water shut-off valve for your home is essential. This will prevent any unexpected leaks or flooding while you are working.
Turn off the water: Once you have located the main shut-off valve, turn it clockwise to shut off the water supply to your house. If the valve is difficult to turn, you may need a wrench to help you with this step.
Drain any remaining water: After shutting off the main water supply, open a faucet at a lower level in your home to drain any remaining water from the pipes. This will ensure no excess pressure in the lines when replacing your shower valve.
Removing the Old Shower Valve
Remove the handle and trim plate: Use a screwdriver to detach the handle and trim plate from the old shower valve. This will give you access to the inner components that need replacing.
Take out the old valve assembly: Locate and remove the screws holding the old valve in place before carefully pulling it out of its housing. Be sure to disconnect any pipes connected to it as well.
Clean and prepare for installation: Once you have removed the old shower valve, clean up any debris or residue left behind. Then, prepare your new shower valve for installation by checking that all connections are secure and in good condition.
Installing the New Shower Valve
Installation Preparation: Once the old valve is removed, clean up any debris and ensure the area is dry and free of obstructions. Measure and mark where your new valve will be installed, making sure it aligns properly with existing plumbing.
Install the New Valve: Follow manufacturer instructions for installing your new shower valve, ensuring all connections are tight and secure. Once in place, turn on the water supply to check for leaks before sealing the wall with caulk or silicone.
Testing the New Valve
Turn on the water supply: Once you’ve installed the new valve, turn on the water supply to check for any leaks or issues.
Check for leaks: Inspect all connections and joints for any signs of leaking water. Tighten as necessary to seal properly.
Test functionality: Turn on the shower and test how well the new valve controls both temperature and water pressure. Make adjustments if needed.
Sealing and Finishing Touches
Apply plumber’s tape: Wrap the plumber’s tape around the threads of the new valve to create a tight seal against leaks.
Tighten connections: Use a wrench to securely tighten all connections, being careful not to overtighten and damage the fittings.
Check for leaks: Turn on the water supply and check for any leaks around the valve. If there are leaks, make adjustments or reapply the plumber’s tape as needed.
Finish with caulking: Seal gaps between the wall and the escutcheon plate with silicone caulk for a clean finish that prevents water damage behind the shower wall.
Tips and Tricks for Maintenance and Longevity
Regularly clean your shower valve to prevent mineral buildup, which can affect its performance over time.
Check for leaks or drips in the valve and address them promptly to avoid water damage and wasted water.
If you have hard water, consider installing a water softener, as it can help prolong the life of your shower valve.
Remember that proper maintenance is key to ensuring that your new shower valve lasts for years. Following these simple tips, you can keep your shower running smoothly and efficiently.