

Table of Contents
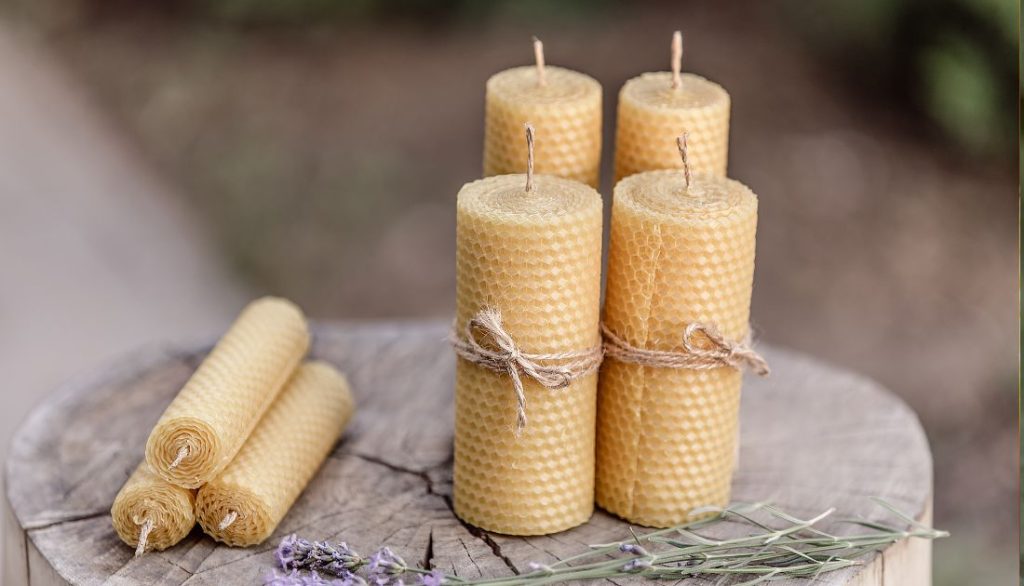
Beeswax candles are becoming very popular in homemade crafts and eco-friendly living. People like them because they are a natural choice compared to regular wax candles. Beeswax candles burn cleaner and last longer than paraffin or soy candles. They also give off a light honey smell that makes any room feel cozy. If you want to try making candles yourself, this guide is for you.
In this easy-to-follow recipe, we will show you how to make beeswax candles from start to finish. Whether you have made candles before or are trying them for the first time, this guide has all the necessary steps and tips. Soon, you can create beautiful and eco-friendly beeswax candles at home. Get ready to be creative and enjoy the relaxing light of your homemade beeswax candles.!
Choosing the Right Supplies
When making beeswax candles, it is crucial to select high-quality supplies. For the best results, look for pure beeswax without additives or fillers. Choose wicks that are appropriately sized for your candle molds to ensure even burning.
To melt the beeswax safely and efficiently, use a double boiler or melting pot specifically designated for candle-making. Additionally, gather any desired scents or colorants to personalize your candles.
Invest in quality tools such as a thermometer and stirring utensils to monitor the temperature of the wax and mix in any additional ingredients effectively. You can easily create beautifully crafted beeswax candles by selecting the right supplies.
Preparing Your Work Area
- Clear your workspace: Before making beeswax candles, ensure your work area is clean and clutter-free.
- Gather your materials: Collect all the necessary supplies, such as beeswax sheets, wicks, scissors, and a double boiler.
- Protect your surface: Place a newspaper or wax paper on your work surface to protect it from spills or drips during the candle-making process.
Following these simple steps to prepare your work area, you can create a clean and organized space for making beeswax candles. This will help streamline the process and prevent any unnecessary messes or accidents.
Melting the Beeswax
- Prepare Double Boiler: Fill a saucepan halfway with water and place a heat-safe glass bowl on top. This setup will gently melt the beeswax without direct heat, preventing it from burning.
- Add Beeswax to Bowl: Measure the beeswax required for your candles and place it in the glass bowl. Ensure you have more than enough wax to fill your chosen mold or container.
- Heat Gently: Place the saucepan on low-medium heat and allow the beeswax to melt slowly. Stir occasionally with a wooden spoon to ensure even melting until it reaches its liquid state, like honey.
Adding Fragrance
- Choose essential oils: To add a pleasant aroma to your beeswax candles, opt for high-quality oils like lavender, peppermint, or citrus.
- Be cautious with amounts: Add a few drops of essential oil to your melted beeswax and adjust the scent intensity based on personal preference.
- Stir well: Stir gently but thoroughly before pouring into your candle molds to ensure the fragrance is evenly distributed throughout the melted wax.
Following these simple steps, you can customize your beeswax candles with a delightful fragrance that enhances any space in your home.
Selecting the Perfect Wick
- The size of the wick is crucial in determining how your beeswax candle will burn.
- A too-small wick may result in tunneling, while a too-large wick can cause excessive dripping.
- Consider using cotton wicks for beeswax candles as they provide a clean and even burn.
When selecting a wick for your beeswax candle:
- Choose a size based on the diameter of your candle container.
- Test different wicks to see which works best with your beeswax blend.
- Remember that the proper wick can make all the difference in achieving a beautifully burning beeswax candle.
Pouring the Beeswax
- Prepare your workspace: Set up a clean, spacious area to pour the beeswax. Ensure proper ventilation for safety.
- Melting the wax: Place the double boiler on low heat and add your beeswax pellets. Stir occasionally until thoroughly melted.
- Adding fragrance (optional): Add essential oils for a pleasant scent once the wax is melted. Stir well to distribute evenly.
- Pouring the beeswax: Carefully pour the melted wax into your prepared candle molds or containers, leaving some space at the top.
- Let it cool: Allow the candles to cool and solidify completely before moving them. Trim wicks to ¼ inch before lighting for optimal burning.
Following these steps, you can create beautiful beeswax candles in your home.
Allowing the Candles to Set
- Wait Patiently: Once you have poured the melted beeswax into your molds, it is crucial to allow the candles enough time to set correctly.
- Avoid Disturbing: To prevent disruptions in the setting process, refrain from moving or touching the candles while they are hardening.
- Check Readiness: After a few hours, gently touch the candle’s surface to ensure it has solidified entirely before removing it from the mold.
- Complete Setting Time: Depending on factors such as room temperature and the size of your candles, they may need anywhere from 4 to 12 hours to fully set.
Remember: Patience is key when allowing your homemade beeswax candles to set. Rushing this step could result in imperfect final products for all your crafting efforts.
Trimming the Wicks
- After your beeswax candles have cooled and hardened, it’s essential to trim the wick before lighting them.
- Trim each wick to about 1/4 inch length using scissors or a wick trimmer.
- This will help ensure a clean burn and prevent excessive smoking or mushrooming of the wick.
Remember: Properly trimmed wicks lead to a more enjoyable candle-burning experience.
beeswax candle recipe
Testing Your New Candles
- Check the Wick: Before lighting your new beeswax candle, make sure the wick is centered and trimmed to about ¼ inch in length. This will help the candle burn evenly and reduce soot.
- Light it Up: Once you’ve prepared the wick, light your beeswax candle and let it burn for at least one hour. This allows the wax to melt evenly across the candle’s surface, preventing tunneling.
- Observe Burn Characteristics: While your candle is burning, observe how it melts and if there are any issues like excessive smoking or uneven melting. If you notice problems, extinguish the flame and trim the wick before relighting.
By following these simple steps to test your newly made beeswax candles, you can ensure a longer-lasting and more enjoyable burning experience while reaping all of the benefits of natural beeswax.
Storing and Enjoying Your Beeswax Creations
Storage: Store your beeswax candles in a cool, dry place away from direct sunlight to prevent melting or warping. Store them in an airtight container to maintain their scent and color for longer.
Enjoyment: Light your beeswax candles in a well-ventilated area, away from flammable materials. Trim the wick to 1/4 inch before each use to ensure a clean burn and reduce soot. Relax and enjoy your handmade creations’ warm glow and subtle honey scent.
Remember these simple tips for storing and enjoying beeswax candles to prolong their life and enhance your overall candle-burning experience. With proper care, you can continue to delight in the beauty of natural beeswax while creating a cozy ambiance in any space.
FAQs
Can I Use Olive Oil Instead of Coconut Oil?
Yes, you can use olive oil instead of coconut oil when making beeswax candles. Olive oil will work as a softener, just like coconut oil, but it may slightly alter the candle’s texture and burn properties. Olive oil has a different scent and consistency, so it might affect the final product.
I Have Leftover Beeswax. What Can I Do With It?
If you have leftover beeswax, there are many ways you can use it:
- Make More Candles: Save it for your next candle-making project.
- Create Beeswax Wraps: Use it to make reusable food wraps.
- DIY Lip Balm or Lotion Bars: Mix beeswax with oils to create moisturizing products.
- Wood Polish: Combine beeswax with oil to make a natural wood polish.
- Craft Projects: Use it in various homemade crafts and projects.
How Do I Keep My Candle From Sinking in the Middle?
To prevent your candle from sinking in the middle:
- Pour in Layers: Pour the wax in layers, allowing each layer to cool slightly before adding the next.
- Use a Heat Gun: After pouring, use a heat gun to smooth the top of the candle and fill any sinkholes.
- Proper Cooling: Let the candle cool slowly at room temperature, avoiding drafts or temperature changes.
What If My Candle Cracks?
If your candle cracks:
- Reheat and Repair: Gently reheat the top of the candle with a heat gun or hairdryer until the wax melts and the crack closes.
- Add More Wax: Pour a small amount of melted wax into the crack to fill it.
Can I Add Essential Oils to My Candle?
Yes, you can add essential oils to your beeswax candles. Add the essential oils to the melted wax before pouring it into the mold. This will ensure the scent is preserved. For a noticeable scent, use about 1 ounce of essential oil for every pound of beeswax.
Can I Use Olive Oil Instead of Coconut Oil?
Yes, as mentioned earlier, you can use olive oil instead of coconut oil in your beeswax candles. Just be aware of the potential differences in texture, scent, and burn quality.
I have leftover beeswax. What can I do with it?
You can use leftover beeswax for many things:
- Lip Balm: Mix beeswax with coconut oil and essential oils to make a natural lip balm.
- Lotion Bars: Combine beeswax with shea butter and almond oil to create moisturizing lotion bars.
- Furniture Polish: Mix beeswax with olive oil to make a natural polish for wooden furniture.
- Reusable Food Wraps: Melt beeswax and spread it on fabric to make eco-friendly food wraps.
- Soap Making: Add beeswax to your homemade soap recipes for a harder bar and added moisturizing properties.
Can I add essential oils?
Yes, you can add essential oils to your beeswax candles. Here’s how:
- Choose Oils: Pick essential oils that you like and that are safe to use.
- Mixing: Add the essential oils to the melted beeswax before pouring it into the mold. Use about 20-30 drops per pound of beeswax.
- Stir Well: Stir the essential oils thoroughly to distribute the scent evenly.
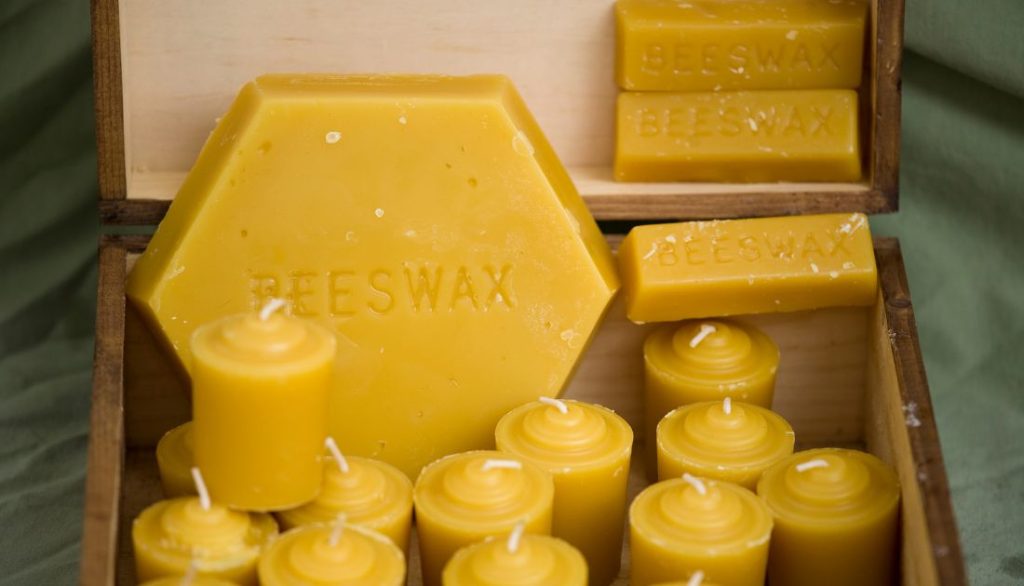
What kind of beeswax should I use?
For making candles, it’s best to use:
- Pure Beeswax: Look for 100% pure beeswax, which can be found in blocks, pellets, or sheets.
- Filtered Beeswax: Use filtered or refined beeswax to remove impurities, making it easier to work with and ensuring a cleaner burn.
- Yellow or White Beeswax: Yellow beeswax is natural and unbleached, while white beeswax has been filtered and bleached. Either can be used, but yellow beeswax will give a more natural look and scent.