Table of Contents
Nail guns are essential tools for woodworking and DIY enthusiasts. They save time, increase precision, and provide a professional finish to any project. Among the various types of nailers, finish nailers and brad nailers are the most commonly used. However, many DIYers find themselves wondering which tool to use for their specific needs. This article will break down their differences, strengths, and weaknesses to guide you in selecting the right tool for your next project.
What is a Brad Nailer?
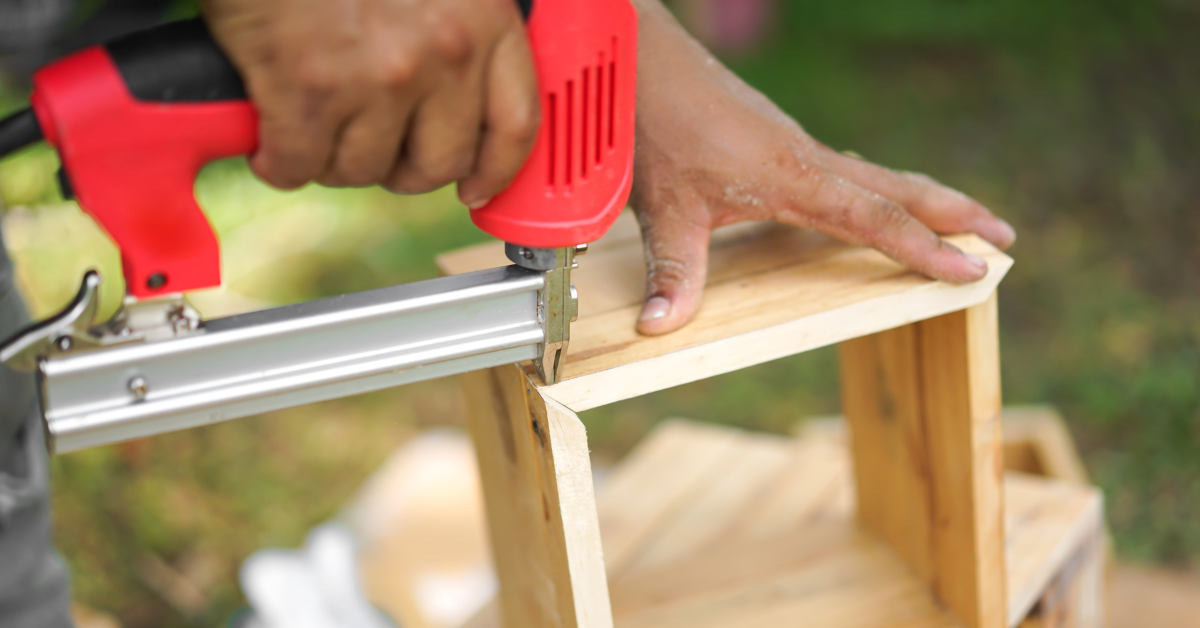
A brad nailer is a specialized tool designed for precise, delicate work. It uses 18-gauge brad nails, which are thin and less likely to split wood. These nails are ideal for smaller projects and lightweight materials. Brad nailers are particularly valued for their subtlety, as the small nails leave minimal traces on finished surfaces.
Advantages
- Minimal risk of wood splitting: The thin nails reduce the chance of damaging delicate materials, making them ideal for intricate designs.
- Small nail holes: Brad nails leave tiny holes, often eliminating the need for filling, which saves time during finishing.
- User-friendly: Easier for beginners due to its lightweight design and forgiving nature, allowing DIYers to focus on accuracy.
Disadvantages
- Limited holding strength: Unsuitable for heavy-duty projects or thick materials. Overloading the tool can compromise its efficiency.
- Not ideal for structural support: The small nails can’t hold significant weight, limiting their use to decorative or lightweight tasks.
Finish Nailer vs Brad Nailer
What is a Finish Nailer?
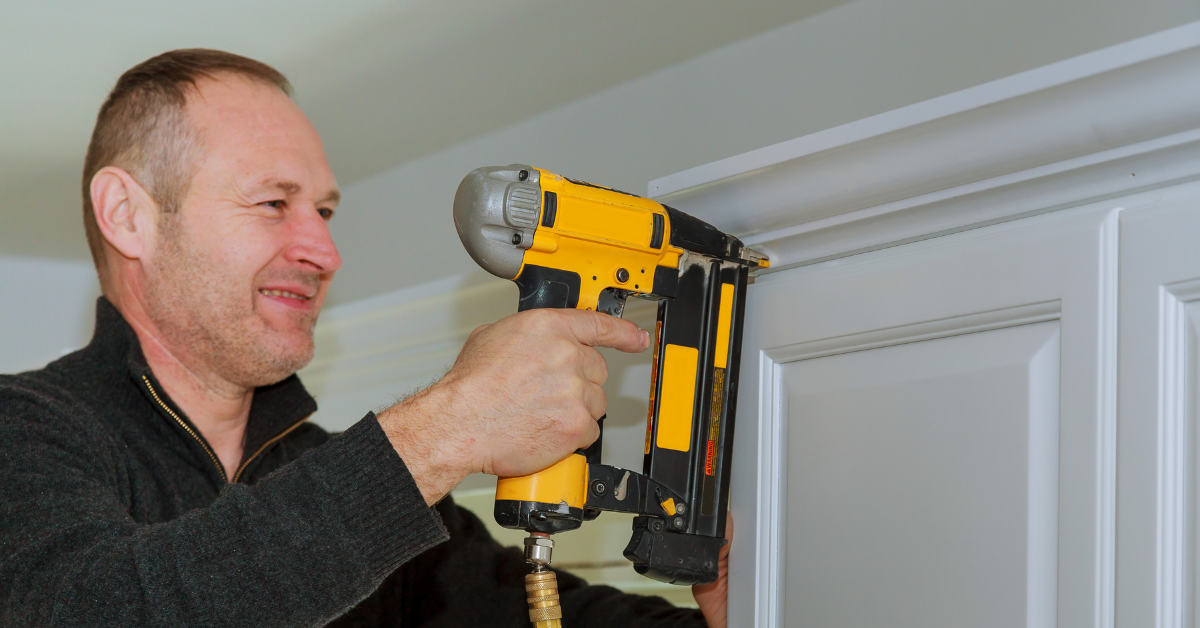
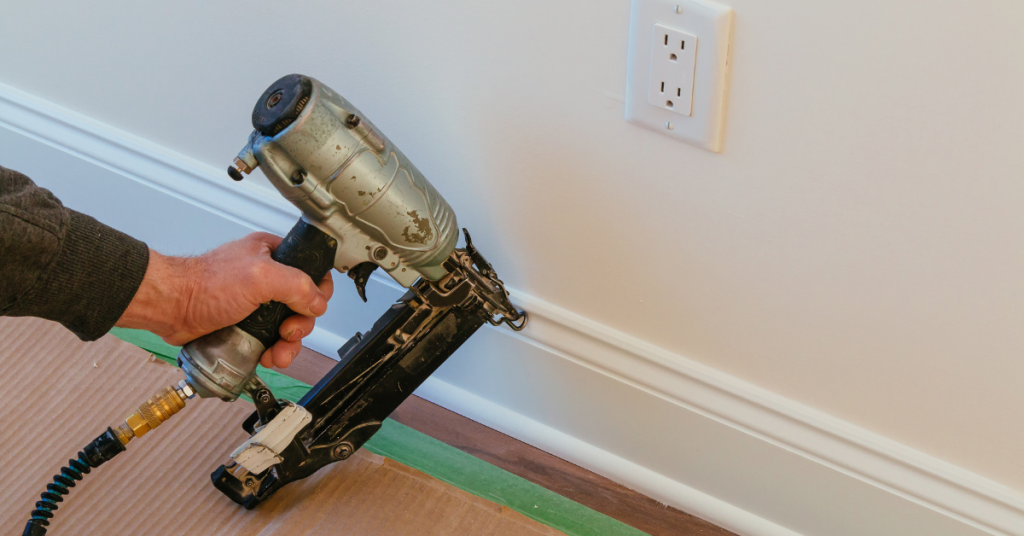
A finish nailer is a versatile tool designed for heavier projects. It uses 15- or 16-gauge nails, which are thicker and provide a stronger hold. Finish nailers are a go-to choice for professionals handling large-scale woodworking tasks. These nailers excel in scenarios where durability and stability are paramount.
Advantages
- Stronger hold: The thicker nails provide superior strength for heavier materials, ensuring long-lasting results.
- Versatile: Suitable for a wide range of projects, from furniture to construction, offering flexibility for DIYers and professionals alike.
Disadvantages
- Larger nail holes: Requires filling to achieve a seamless finish, which may add extra steps to the project.
- Higher risk of splitting thin materials: The thicker nails can damage delicate wood if not used carefully, requiring caution and experience.
Finish Nailer vs Brad Nailer
Key Differences Brad Nailer vs Finish Nailer
Understanding the differences between these tools is crucial for choosing the right one for your needs:
1. Gauge of Nails
- Brad Nailer: It uses 18-gauge nails which is ideal for precision.
- Finish Nailer: It uses 15- or 16-gauge nails which are designed for strength.
2. Nail Hole Size
- Brad Nailer: It leaves smaller and less noticeable holes. It is perfect for visible areas.
- Finish Nailer: It leaves larger holes that require filling. It is suitable for areas where aesthetics are less critical.
3. Holding Strength
- Brad Nailer: It is suitable for lightweight tasks and non-structural projects.
- Finish Nailer: It is ideal for heavy-duty projects that demand durability.
4. Applications
- Brad Nailer: It is best for thin trims, small crafts, and veneers.
- Finish Nailer: It is suitable for baseboards, crown molding, and furniture construction.
5. Material Suitability
- Brad Nailer: It works well with thin, delicate materials, minimizing damage.
- Finish Nailer: It handles thicker, heavier materials that require a robust hold.
6. Ease of Use
- Brad Nailer: It is easier for beginners and less intimidating to handle.
- Finish Nailer: It requires more skill and preparation, particularly for precision work.
Finish Nailer vs Brad Nailer
When to Use a Brad Nailer
A brad nailer excels in situations where precision and delicacy are required. Consider using a brad nailer for:
Attaching small moldings or trims: Brad nailers are perfect for finishing tasks that demand subtlety and precision, as the small nail holes blend seamlessly into the wood surface.
Crafting intricate woodworking projects: For tasks like creating ornate picture frames or assembling lightweight furniture, a brad nailer ensures that the wood remains intact and undamaged.
Securing lightweight materials: Brad’s nails are delicate enough to fasten thin boards, veneers, or softwoods without causing cracks or splits.
Assembling prototypes or temporary structures: Brad nailers allow for quick assembly and easy nail removal, making them ideal for trial setups or models.
Installing decorative trim or beadboard: When aesthetics are critical, a brad nailer’s ability to minimize visible marks is a significant advantage.
When to Use a Finish Nailer
A finish nailer is your best bet for heavy-duty tasks requiring durability. Ideal scenarios include:
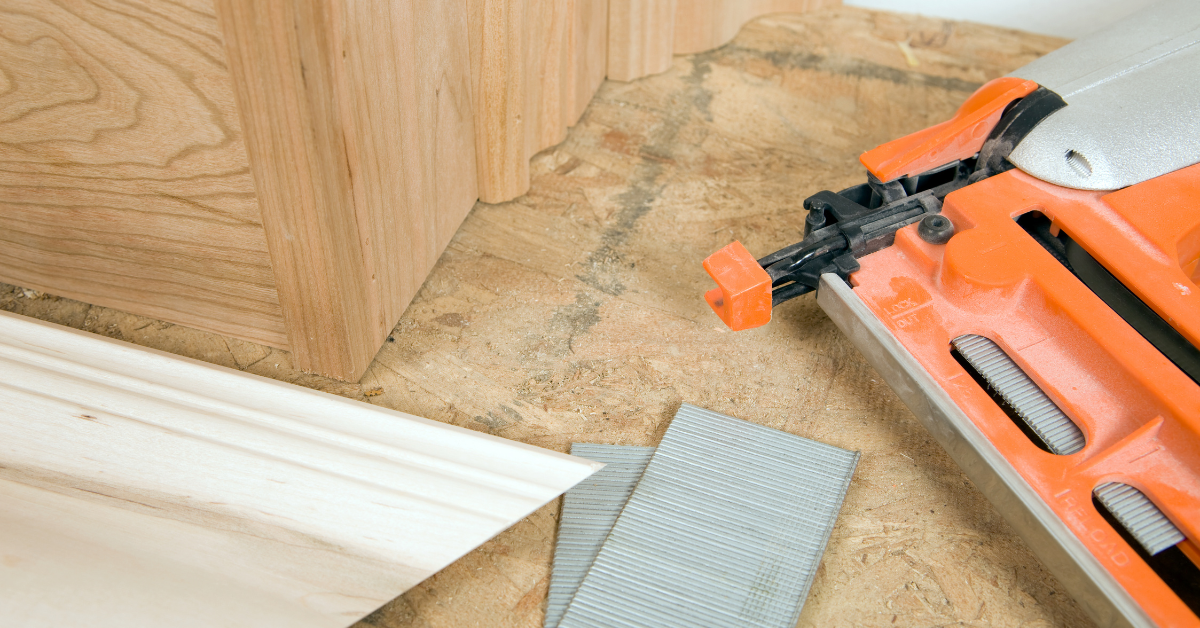
Installing baseboards or crown molding: Finish nailers provide the strength required to secure these decorative elements firmly, ensuring they stay in place for years.
Assembling furniture or cabinetry: The thicker nails used by finish nailers create durable joints capable of withstanding significant weight and pressure.
Renovation or construction projects: Finish nailers can handle heavy materials, making them ideal for tasks like securing door casings or building robust structural elements.
Framing windows or doors: For projects requiring stability and precision, a finish nailer delivers both strength and a clean finish.
Installing stair treads or railings: Finish nails are durable, and they are ideal for tasks that involve high impact or frequent use.
Finish Nailer vs Brad Nailer
Can You Substitute One for the Other?
While Brad and Finish nailers have some overlap, they are not interchangeable. Using a brad nailer for heavy tasks can result in a weak hold, while a finish nailer on delicate materials can cause damage. Brad nailers are designed for subtlety and precision, making them unsuitable for projects requiring significant holding power. On the other hand, finish nailers, with their thicker nails, can overpower or split lightweight or thin materials.
Moreover, it’s important to consider your project’s specific requirements. For example, using a brad nailer to attach crown molding might result in a poor hold, causing the piece to loosen over time. Conversely, using a finish nailer to secure a delicate picture frame could lead to unsightly damage or splitting.
Investing in both tools ensures versatility for DIYers or professionals handling diverse projects. Each tool serves its unique purpose, and having both at your disposal allows you to tackle a broader range of tasks confidently and precisely. Understanding their strengths and limitations ensures you can achieve the best results without compromising your work’s quality or integrity.
Factors to Consider When Choosing
Selecting the appropriate tool requires careful consideration of several critical factors. Here are some key factors to help you decide.
Type of Project: Determine if the task involves lightweight or heavy materials.
Material Thickness: Thin materials work best with brad nailers, while thicker ones need a finish nailer.
Finish Requirements: Opt for a brad nailer for minimal filling and touch-up work.
Tool Budget and Availability: Consider your budget and whether you need both tools for versatility.
Frequency of Use: For occasional DIY tasks, one tool might suffice; professionals may benefit from both.
Top Tips for Using Brad and Finish Nailers
To use Brad and Finish nailers effectively, follow these simple tips to stay safe and get the best results.
Prioritize Safety: Always wear safety goggles and follow manufacturer guidelines to prevent accidents.
Test on Scrap Wood: Practice on a spare piece to ensure proper settings and avoid mistakes.
Choose the Right Nails: Match the nail type to your project’s needs for optimal results.
Maintain Your Tools: Regular cleaning and maintenance ensure optimal performance and longevity.
Mind the Pressure Settings: Adjust the air pressure or power settings to suit the material and nail size.
Conclusion
Choosing between a finish nailer and a brad nailer comes down to understanding your project’s specific needs. Each tool has unique strengths: the brad nailer excels in precision and delicacy, perfect for lightweight and detailed work, while the finish nailer provides the durability and strength required for heavy-duty tasks. By evaluating factors such as material type, project scale, and desired finish, you can confidently select the right tool to achieve professional-quality results.
For those tackling a variety of DIY or professional woodworking projects, having both tools in your arsenal offers unmatched versatility and efficiency. With the right nailer in hand and adherence to best practices, you can complete your projects safely and effectively, ensuring a polished and lasting finish every time.
FAQs
1. Can I use a Brad nailer for crown molding?
A Brad nailer can work for lightweight crown molding but lacks the holding strength for larger, heavier pieces.
2. Which nailer is better for baseboards?
A finish nailer is the better choice for securing baseboards due to its stronger hold.
3. Are finish nails stronger than brads?
Yes, finish nails are thicker and provide greater holding strength.
4. Do I need both a Brad nailer and a finish nailer?
While not necessary, having both tools offers versatility for various projects.
5. What’s the best nailer for beginners?
A brad nailer is generally easier for beginners due to its lightweight design and forgiving nature.
