

Table of Contents
The Instant Pot has become a kitchen staple, making cooking quicker and easier than ever. From soups and stews to rice and desserts, it’s a versatile tool that simplifies meal preparation. However, like any frequently used kitchen appliance, regular cleaning is required to keep it functioning efficiently and ensure your meals are safe and delicious.
In this guide, we’ll walk you through the step-by-step process of cleaning every part of your Instant Pot from the stainless steel inner pot to the sealing ring and lid components. Whether you’re tackling food residue, stubborn stains, or lingering odors, we’ve covered you with practical tips and tricks. By the end of this article, you’ll know exactly learn how to clean Instant Pot so it stays in top shape for years to come. Let’s get started.
Why Cleaning Your Instant Pot Matters
Cleaning your Instant Pot isn’t just about aesthetics; it’s crucial for safety, functionality, and flavor preservation. Regular cleaning prevents food residue buildup, ensures a proper seal for pressure cooking, and eliminates lingering smells from past recipes. A well-maintained Instant Pot ensures consistent cooking results, avoids potential malfunctions, and enhances the appliance’s longevity.
What You’ll Need
Before you start, gather these tools and materials:
- Microfiber cloth or dishtowel
- Soft-bristled brush or toothbrush
- Dish soap
- White vinegar
- Lemon rind (optional)
- Baking soda (optional)
- Bar Keepers Friend (optional)
how to clean instant pot
Step-by-Step Guide to Cleaning Each Component
Here is the step-by-step guide to cleaning each component of the instant pot.
1. Preparing to Clean
Unplug and cool down: Ensure the Instant Pot is unplugged and has cooled completely after use. Cleaning while it’s still warm can be unsafe and ineffective.
Disassemble parts: Remove the lid, sealing ring, steam rack, and stainless steel inner pot. Breaking it down into individual parts makes thorough cleaning easier.
2. Cleaning the Cooker Base
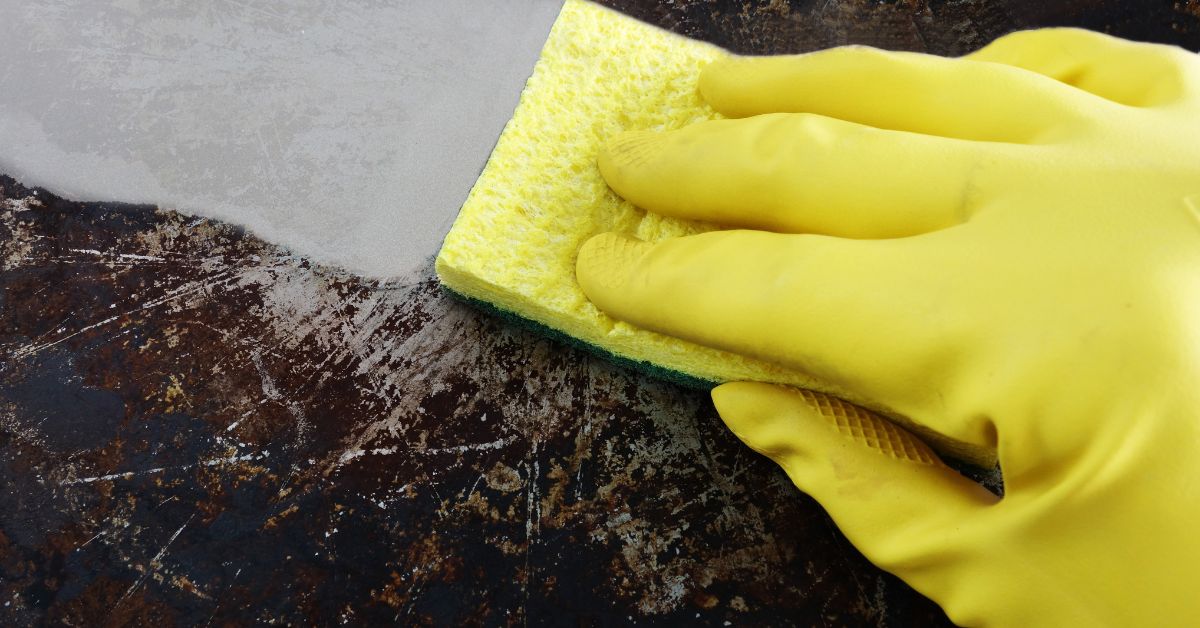
Exterior: Wipe the exterior with a damp microfiber cloth to remove any splatters or crumbs. For stubborn stains, use a small amount of mild detergent on the cloth, followed by a clean damp wipe.
Interior: Use a slightly damp cloth to clean the inside of the cooker base. Avoid water contact with the heating element or microprocessor, as this can cause damage.
Lips and edges: Use a soft brush or a butter knife wrapped in a cloth to clean crumbs from the recessed areas around the lid’s edge. This area often traps food particles, which can become a source of odors if left uncleaned.
Pro Tip: Never submerge the cooker base in water or put it in the dishwasher. Keeping the base dry is essential for its proper functioning.
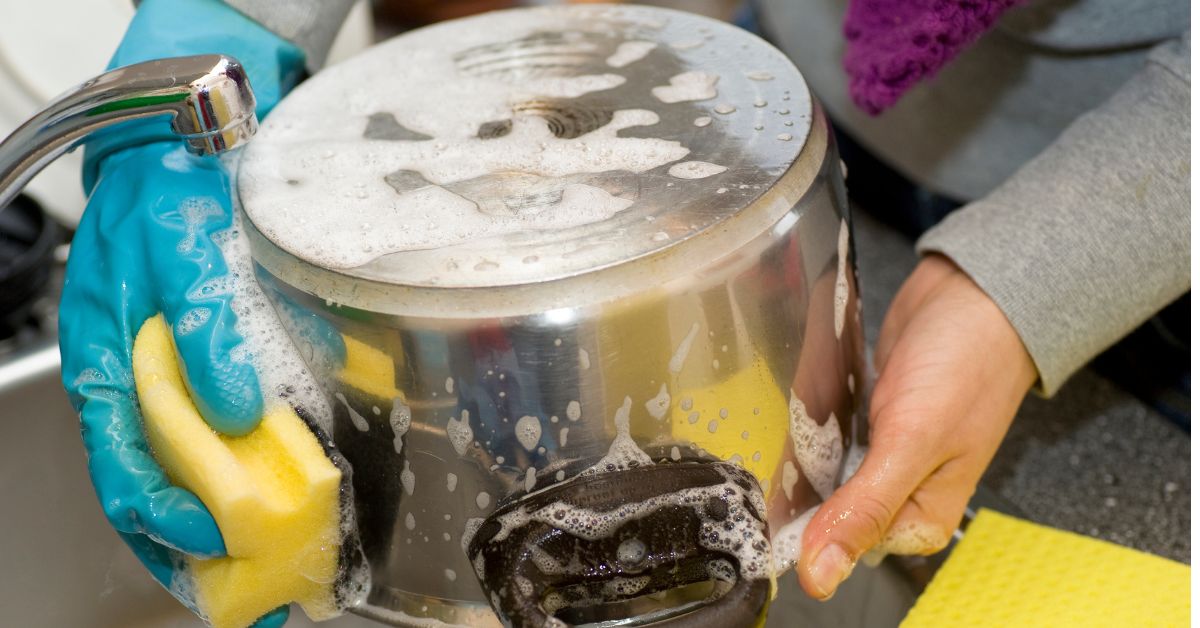
3. Cleaning the Stainless Steel Inner Pot and Steam Rack
Daily cleaning: Handwash the stainless steel pot and steam rack with warm soapy water or place them in the dishwasher. These components are built to withstand daily wear and tear.
Removing stains: For water spots or discoloration, soak the inner pot with 1 cup of white vinegar for 5 minutes, then rinse. This helps dissolve mineral buildup from hard water.
For shine: Use Bar Keepers Friend to restore the stainless steel’s gleam. Apply it with a damp cloth, then rinse thoroughly. This ensures your Instant Pot looks as good as new.
4. Cleaning the Lid and Components
Disassemble: Remove the steam release handle, anti-block shield, and silicone sealing ring. Disassembling the lid allows you to clean hidden areas where food particles often collect.
Handwash or dishwasher: Wash all parts with warm soapy water. The lid is dishwasher safe (top rack). For best results, focus on the steam release valve and float valve, ensuring no debris remains.
Inspect: Check the sealing ring and anti-block shield for damage or food debris. Replace the sealing ring if it shows signs of wear.
Reassemble: Once all parts are clean and dry, put the lid components back together carefully.
how to clean instant pot
5. Cleaning the Silicone Sealing Ring
Daily cleaning: Wash with warm soapy water or place in the dishwasher. This helps maintain its elasticity and cleanliness.
Odor removal: Add 1 cup of water, 1 cup of vinegar, and lemon rind to the inner pot. Set the Instant Pot to “steam” for 3 minutes, then air dry the sealing ring. This eliminates strong odors from previous cooking.
Replacement tips: Replace the sealing ring every 12–24 months or when it shows signs of wear, such as cracks or deformation.
Pro Tip: Keep separate sealing rings for savory and sweet dishes to prevent cross-flavor contamination. This small investment can significantly enhance your cooking experience.
6. Cleaning the Condensation Collector
Remove the condensation collector, handwash it with soapy water, and let it dry completely before reattaching. This prevents water buildup and potential mold growth.
How to Remove Odors from the Silicone Sealing Ring
The silicone sealing ring often absorbs odors from flavorful dishes. Here’s how to keep it fresh:
Steam clean: Use the vinegar and lemon rind method described above. This is a quick and effective way to neutralize odors.
Baking soda paste: Mix baking soda with water to create a paste. Rub it on the sealing ring, let it sit for 10 minutes, then rinse. This method is ideal for stubborn smells.
Air it out: Store the lid upside down to prevent odors from becoming trapped. Proper ventilation is key to maintaining freshness.
Common Mistakes to Avoid
Submerging the cooker base: This can damage the electronic components and render your Instant Pot unusable.
Using abrasive cleaners: Avoid steel wool or harsh scrubbers on the stainless steel inner pot to prevent scratches.
Skipping inspections: Always check the sealing ring and anti-block shield for damage after cleaning. Worn parts can compromise the Instant Pot’s functionality.
how to clean instant pot
Instant Pot Maintenance Tips
Regular deep cleaning: Deep clean your Instant Pot every 1–2 months, depending on usage. Frequent users may benefit from monthly maintenance.
Replace parts when necessary: Inspect the sealing ring and anti-block shield regularly and replace if damaged. Genuine parts ensure better performance.
Check valves: Ensure the steam release and float valves are clear of debris. This ensures your Instant Pot maintains proper pressure during cooking.
Proper storage: Store your Instant Pot with the lid upside down to prevent odors and moisture buildup. This small habit can make a big difference over time.
Conclusion
Cleaning your Instant Pot doesn’t have to be a daunting task. By following these step-by-step instructions for each part, you can ensure your appliance stays in top-notch condition for years to come. Regular maintenance not only keeps your Instant Pot looking and smelling fresh but also ensures it continues to function safely and efficiently.
A clean Instant Pot is key to creating delicious meals without unwanted odors or residue. Make cleaning a part of your routine, and enjoy the convenience of cooking with confidence. Happy cooking!
FAQs
Can I put all parts of the Instant Pot in the dishwasher?
Most parts are dishwasher-safe, including the lid, sealing ring, inner pot, and steam rack. The cooker base must be wiped clean and kept dry.
How often should I deep clean my Instant Pot?
Deep clean every 1–2 months or after cooking particularly messy or strongly flavored dishes. This ensures longevity and a consistently clean cooking environment.
Why does my Instant Pot smell bad?
The sealing ring can absorb odors. Use the vinegar and lemon steaming method to neutralize smells, or switch to separate rings for savory and sweet dishes. Proper cleaning and storage help mitigate odors effectively.