Table of Contents
Are you having trouble with clogged or overflowing gutters? If so, taking proactive measures to protect your home from water damage is important. Although it can be daunting, gutter cleaning doesn’t have to be overly difficult if you know what steps to take.
In this guide, we’ll provide step-by-step instructions that will make the process of DIY gutter cleaning easier and more efficient than ever before. Read on for everything you need to know regarding devising a comprehensive strategy for tackling long overdue gutter cleaning tasks around your home.
The Importance of Keeping Your Gutters Clean
Gutters represent an essential factor in keeping water away from your home’s foundation and preventing costly damage. When gutters become clogged with debris, water can overflow and seep into your home, causing structural damage, mold growth, and other issues. Proper and timely gutter cleaning and maintenance is essential to keep the flow of rainwater functioning properly and prevent potential problems.
How to Clear Gutter Clogs
Getting started with the process of cleaning your gutters is often the hardest part. However, with the right tools and a step-by-step approach, you can efficiently and effectively clear out your gutters. Here’s how you can do it:
Step 1: Gather Your Tools
Firstly, gathering all the tools you’ll need is essential. This includes a sturdy ladder, work gloves, a hand trowel, and a bucket for collecting debris. Safety goggles and a dust mask are also recommended to protect you from dust, insects, and potential mold spores.
Step 2: Position the Ladder
Next, position your ladder in a safe and stable place where you can reach the gutters comfortably. Always ensure the ladder is secure and steady before you climb up. It’s always a good idea to have someone at the base of the ladder for added safety.
Step 3: Remove Debris
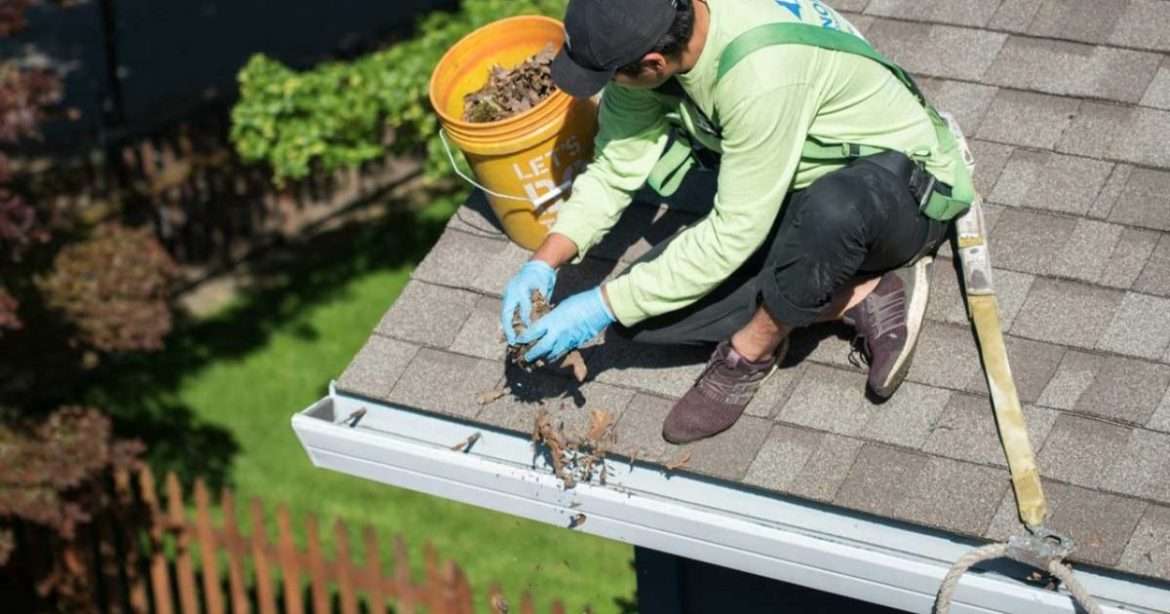
Once you’re at the top, start removing the debris from the gutters. Use your hand trowel to scoop out leaves, twigs, and other debris, placing it in your bucket. Be sure to start from the downspout and work your way towards the opposite end.
Step 4: Flush Out Remaining Debris
After removing the larger debris, it’s vital to flush out any remaining dirt and smaller particles from your gutters. You can use a garden hose for this step or invest in a gutter-cleaning attachment for your hose that helps direct the water flow.
Step 5: Check and Clear Downspouts
Don’t forget to check and clear any clogs in your downspouts. You can use a plumbing snake or a high-pressure nozzle on your hose to break up and remove any stubborn clogs.
Step 6: Rinse Gutters and Inspect for Damage
Rinse your gutters with water to remove any remaining debris and check for any signs of damage or areas needing attention. This is also a good time to inspect your gutters for rust, corrosion, and other issues.
Step 7: Install New Gutters or Repair the Existing Ones
If you notice any significant damage to your gutters, addressing it as soon as possible is crucial. Consider installing new gutters or repairing the existing ones to maintain the integrity of your home and avoid future problems. Visit this website to schedule a professional gutter cleaning or installation service.
Conclusion
By following these DIY gutter cleaning tips, you can keep your home safe from potential water damage while also preventing pest infestations and other issues. Remember always to prioritize safety when cleaning gutters, and don’t hesitate to seek professional help if needed. With a little effort and regular maintenance, you can ensure your gutters continue to function properly for years to come.
